If your air source heat pump isn’t heating properly, it can be worrying, especially during cold weather when you rely on it most. The good news is that many common problems are caused by simple issues like incorrect settings, poor airflow, or minor system faults. These are often easy to spot and fix early, helping you restore warmth quickly without waiting for a repair call. Understanding these basic checks can save you time and keep your home comfortable all winter.
Quick checks before you call an heating engineer
Start with the simple, safe things you can inspect without tools or opening any panels. Often, just correcting a setting or clearing an obstruction restores normal heating.
Always keep safety in mind. Do not remove covers, touch internal wiring, or reset anything you are unsure about. If something looks damaged, noisy, or smells unusual, switch the unit off and call a qualified engineer.
Is it in heating mode? Check the controller is set to "heating" not "cooling" or "auto".
Is the thermostat calling for heat? Room temperature must be below your set point.
Are breakers and isolators on? Confirm power has not tripped or been switched off.
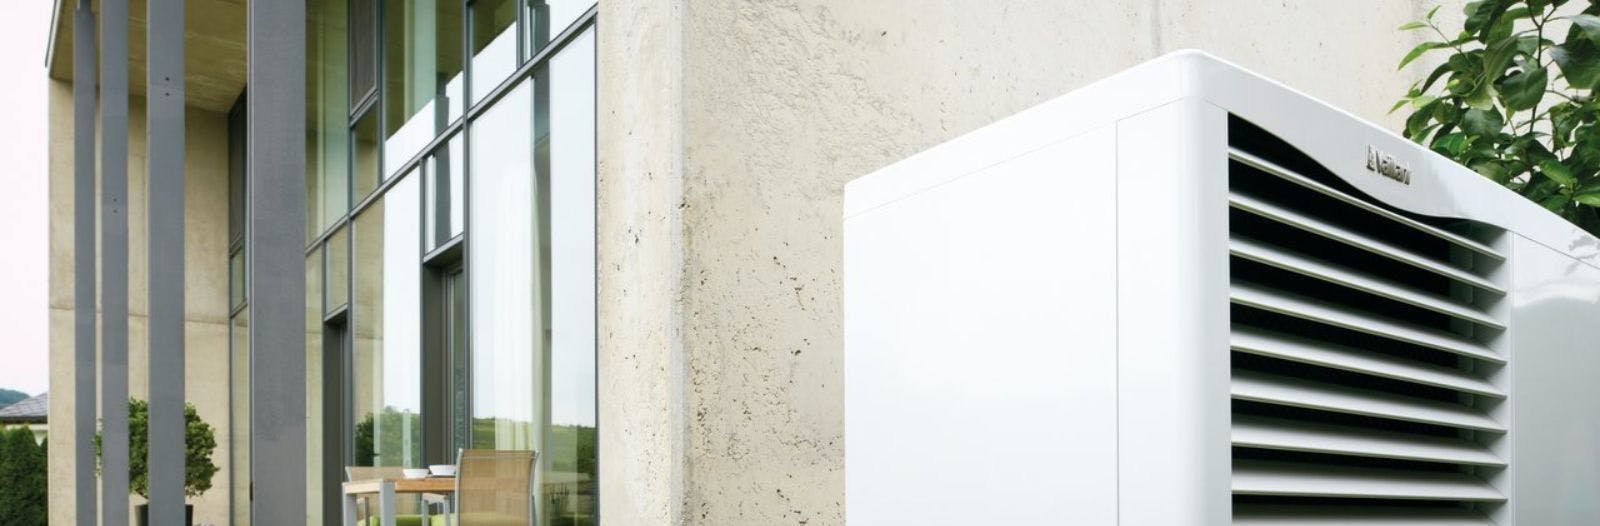
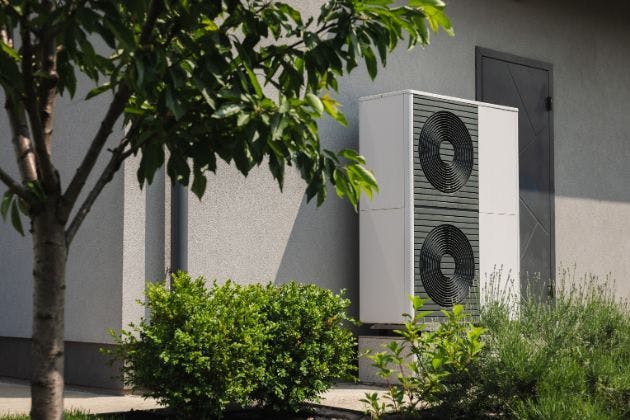
Is the outdoor unit clear? Remove leaves, rubbish, and snow from around the unit.
Any error codes showing? Note them down for the engineer.
Symptom to likely cause: a quick reference
Matching what you see to a likely cause can help you decide what to check first and when to seek help.
If you notice the following, these are common explanations:
Blowing cool or lukewarm air: incorrect mode, flow temperature set too low, defrost cycle running, or low system pressure on a wet system.
Some rooms cold, others fine: closed radiator valves, air trapped in radiators or underfloor loops, or thermostat schedules affecting certain zones.
Unit running constantly but home still cold: thermostat set too low, poor insulation, blocked filters, or airflow restrictions around the outdoor unit.
Loud or unusual noises: ice build-up, loose debris in the fan area, or internal component issues that require an engineer.
Flashing lights or fault messages: system lockout, sensor issues, or protection modes that need professional diagnostics.
Numbered checks you can safely do yourself
Work through these steps calmly and in order. If at any point you feel unsure, stop and contact an engineer.
1. Confirm mode, temperature and schedules
On the main controller, check the system is set to heating mode. If it is on cooling or an automatic mode, the unit may not prioritise heating when you expect it to.
Check the target room temperature and flow temperature are sensible. For most homes, a room temperature of around 19 to 21°C and a flow temperature in line with your installer’s guidance will work well. Also review the schedule to ensure heating is actually programmed to be on when you need it.
2. Check room thermostats and thermostatic valves
Make sure room thermostats have fresh batteries where applicable and have not been accidentally knocked or covered by furniture or curtains. They need clear air circulation to sense temperature correctly.
Look at radiator thermostatic valves and confirm they are open in rooms that feel cold. Sometimes a single turned-down valve can make a room seem like the whole system is failing.
3. Check system pressure on wet systems
If you have radiators or underfloor heating connected to your heat pump, your system will usually have a pressure gauge, often near the hot water cylinder or in a plant cupboard. Typical cold pressure is often around 1 to 1.5 bar, but always follow your system manual.
If the gauge is in the red or very low, do not keep topping it up repeatedly, as this may mask a leak. One gentle top-up following your manual is usually fine, but if pressure keeps dropping, call an engineer.
4. Bleed radiators and check underfloor loops
Cold tops of radiators while the bottoms are warm are a classic sign of trapped air. With the system off and cool, you can bleed radiators using a radiator key and a cloth, starting with those furthest from the heat pump.
For underfloor heating, check that individual loop manifolds are open and any visible air vents are not obviously leaking. Do not dismantle manifolds or pipework yourself; if you suspect air in the loops or water leaks, arrange a professional visit.
5. Inspect airflow and filters
Outside, ensure at least 30 cm of clear space around the unit on all sides and more in front of the fan outlet. Gently remove leaves, litter, and cobwebs from the grille and surrounding area.
Inside the home, if your system uses internal filters on fan coils or air handlers, follow the manufacturer’s instructions to clean or replace them. Never open sealed panels or touch any wiring. If you cannot access a filter without tools, leave it to an engineer.
6. Understand defrost cycles and icing
In cold, damp weather, frost on the outdoor unit is normal. The heat pump will periodically enter a defrost cycle, during which it may pause heating and make different noises for several minutes.
However, if the unit is heavily iced up for long periods or the fan blades are buried in ice, switch the system off and call an engineer. Do not chip away ice with tools or pour hot water over the unit, as this can cause damage.
When to call an engineer immediately
There is a clear line between sensible homeowner checks and jobs that need professional hands. If any of these apply, stop troubleshooting and make the call:
Burning smells, smoke, or clear signs of overheating
Loud grinding, banging, or metallic noises from the outdoor or indoor unit
Repeated tripping of breakers, fuses, or the main isolator
Persistent error codes, especially high-pressure, low-pressure, or refrigerant faults
Visible leaks from the unit, pipework, or cylinder area
Do not attempt to open any covers, reset internal switches, or adjust refrigerant pipework. Modern air source heat pumps are carefully balanced systems that require specialist tools and training.
Special considerations for coastal Hampshire homes
In coastal areas like much of Hampshire, salt-laden air, wind-driven rain, and blown sand or debris can affect outdoor units more quickly. This can lead to faster surface corrosion and more frequent blockage of coils and grilles.
Make it a habit to visually check around the unit after storms and during autumn leaf fall. Gently remove debris, ensure any drainage paths are clear, and keep shrubs trimmed back so they do not restrict airflow or rub against the casing in high winds.
Routine maintenance habits to prevent repeat issues
Heat pumps respond well to regular, light attention. A few simple habits can prevent many heating issues from ever appearing.
Set a reminder to review your controller settings at the start of each season, especially after power cuts or time changes. Keep radiators and underfloor zones balanced, and avoid blocking emitters with large furniture or thick rugs.
Annual professional servicing is strongly recommended. An heating engineer will check refrigerant levels, electrical connections, defrost performance, filters, and water quality, and can catch developing faults before they disrupt your heating.
Next steps and how GEO M&E Ltd can help
If you have worked through these checks and your air source heat pump is still not heating properly, arranging a professional inspection is the safest and quickest route to reliable warmth.
The team at GEO M&E Ltd provides expert heat pump servicing and repair, including support for coastal Hampshire properties. To restore your system to smooth, efficient operation, call us on 02392388799 or visit our heat pump servicing & repair page to book an appointment.
If your home uses a boiler as a backup or secondary heat source, it is also wise to keep that system in good working order. GEO M&E Ltd can carry out thorough boiler servicing so you always have a dependable heating option available when you need it most.
EndFragment